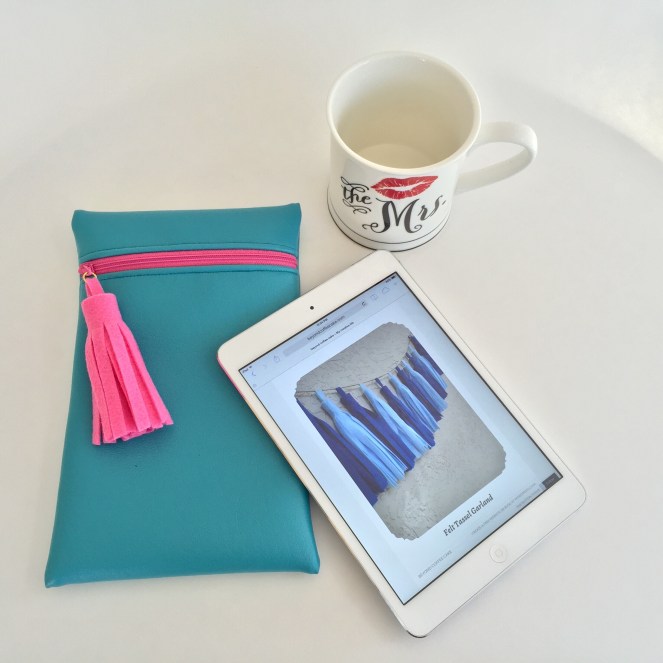
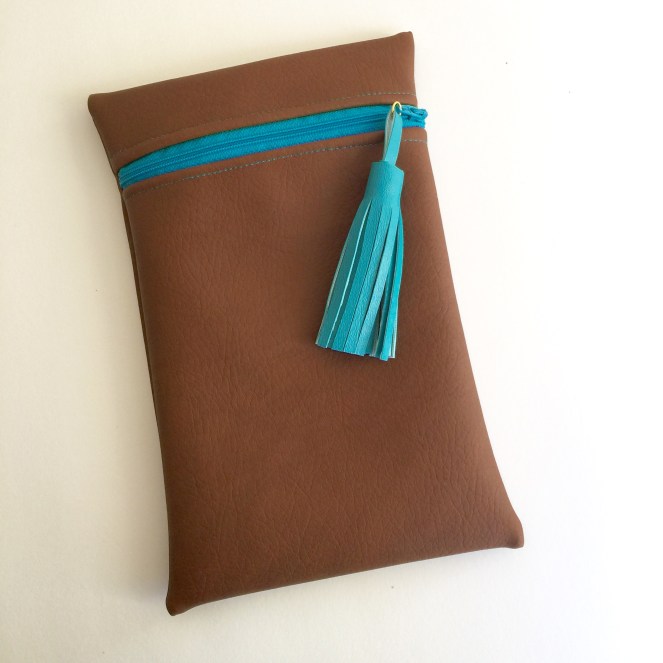
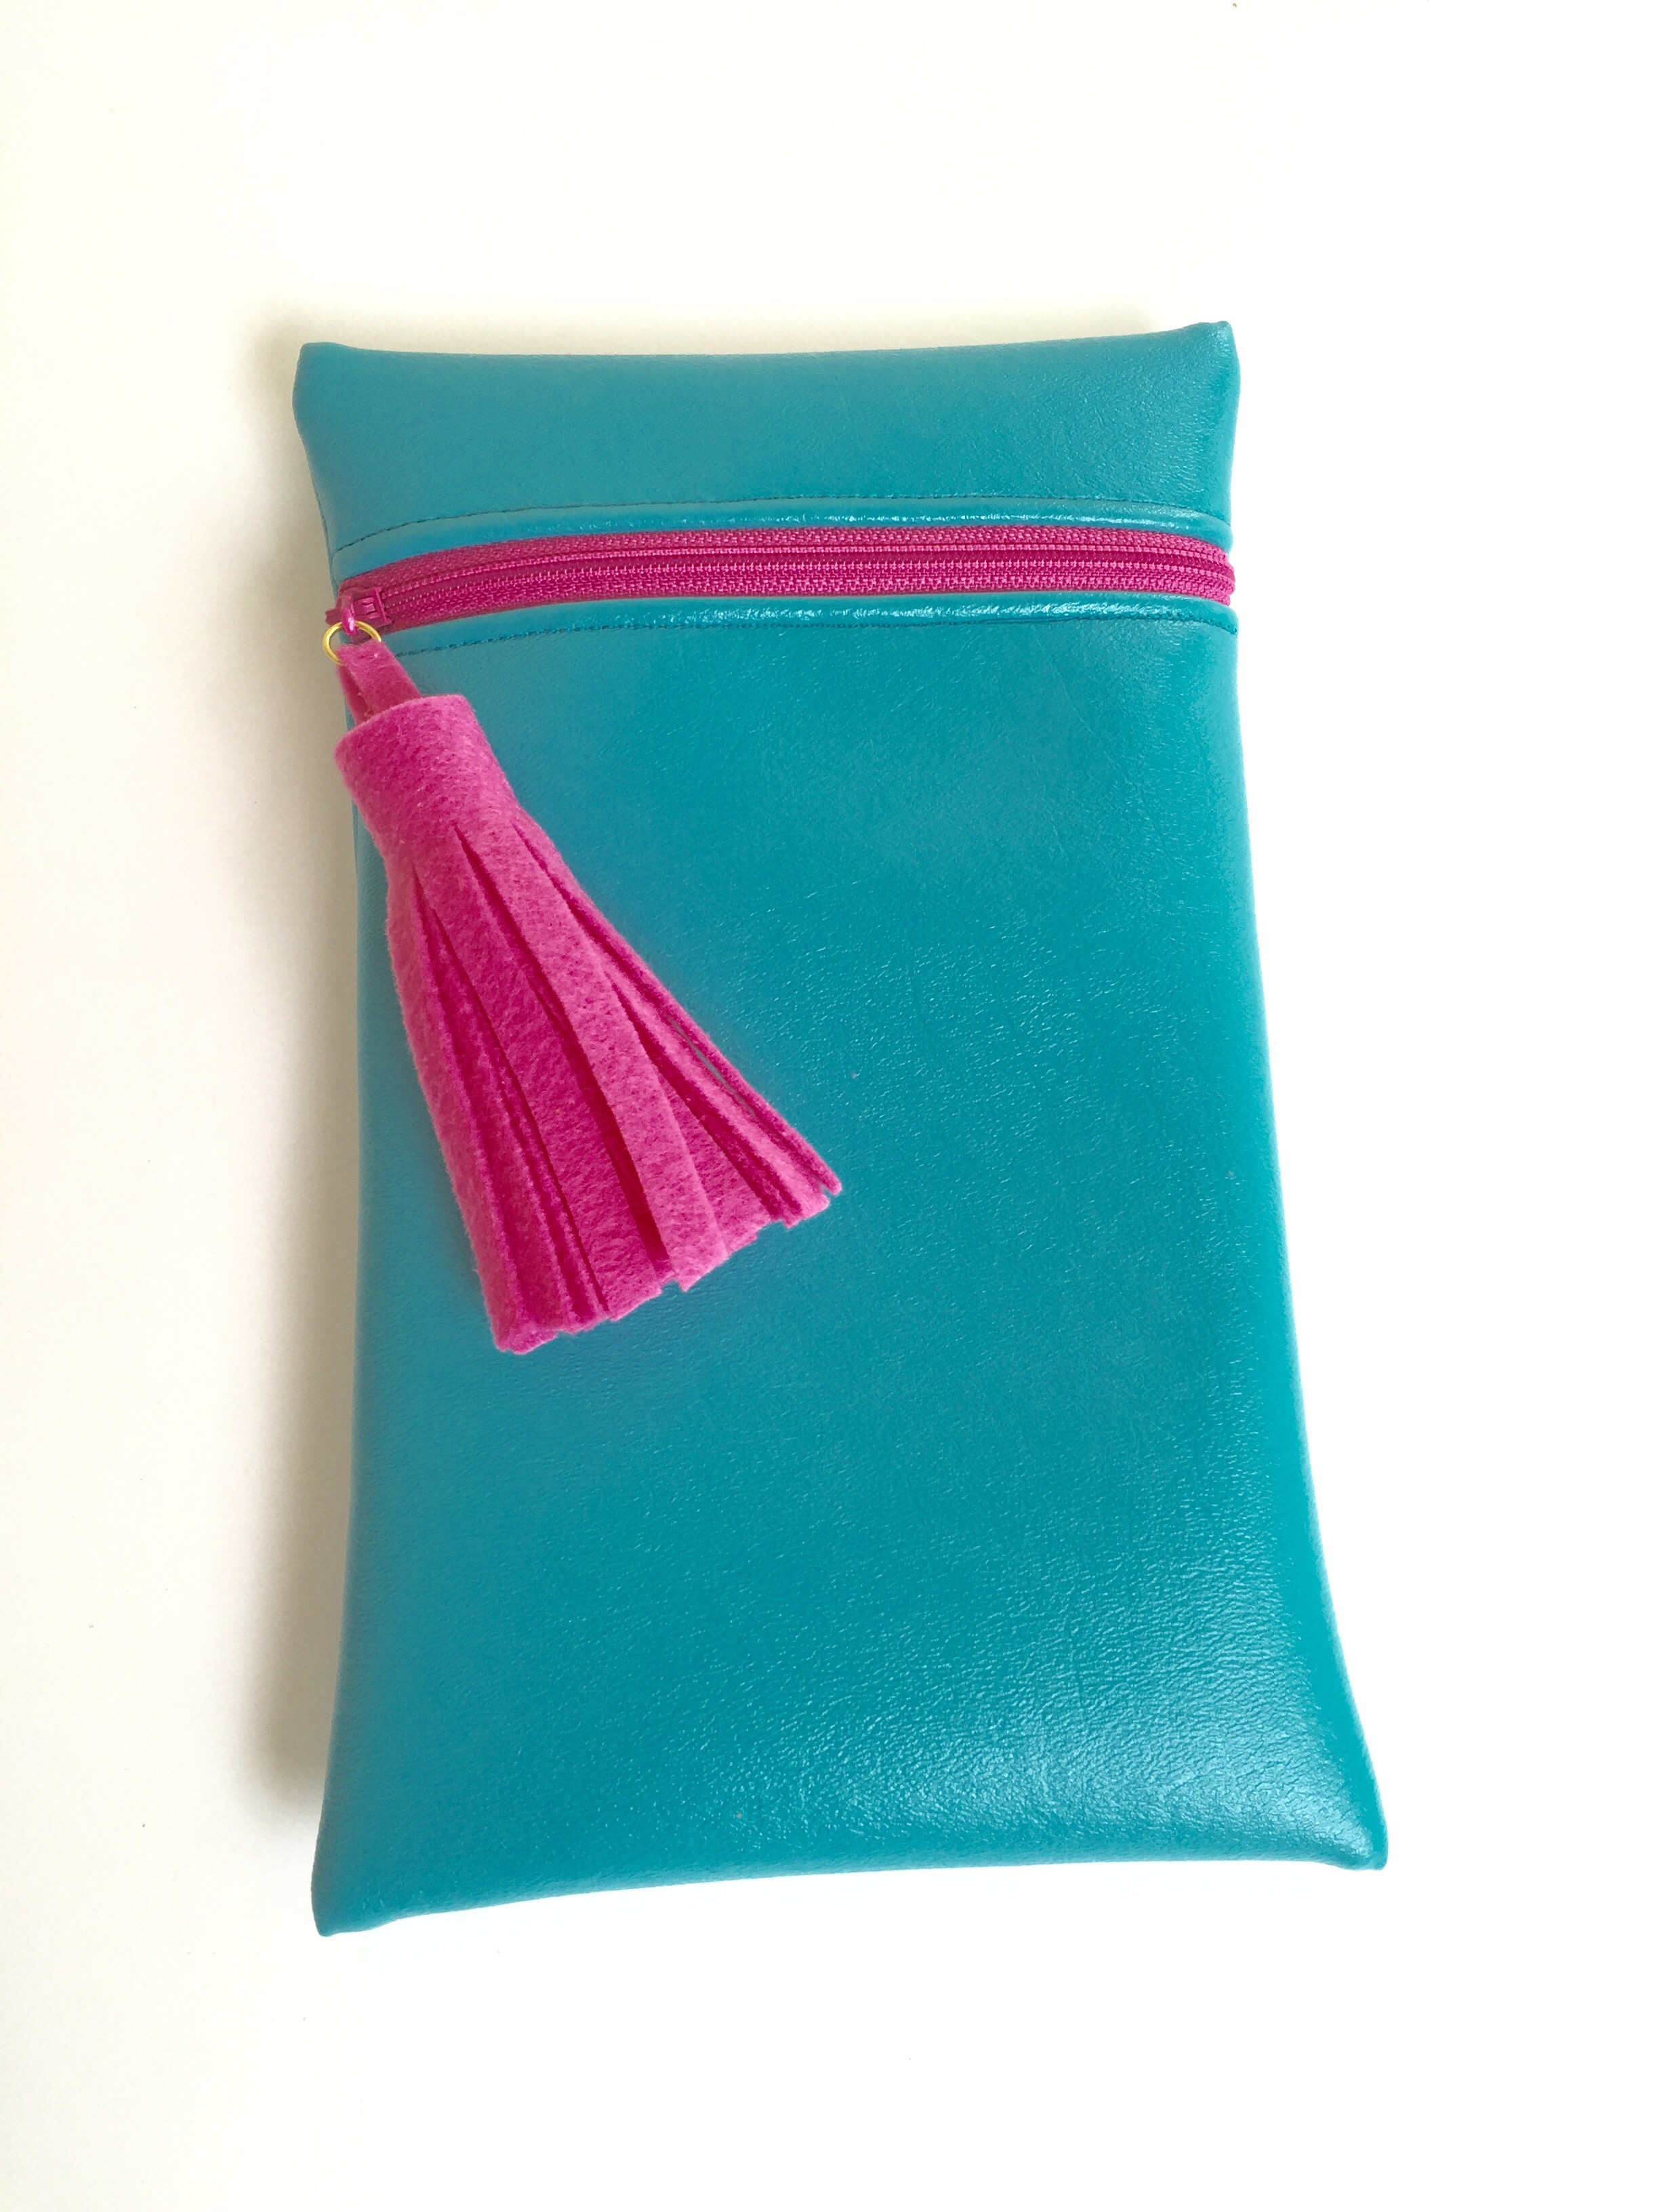
You don’t have to spend a lot of money to tech-cessorize and protect your gadget. You’ve already invested enough! My daughter needed a case/sleeve for her ipad which she could throw (not literally!) in her book bag. I made her a zippered pouch which I thought was quite practical since she could also put her charger in it. The best part of DIY is customizing it! I chose her favorite color and added a contrasting zip and tassel. You can find the link on how to make a tassel here (adjust size accordingly)
Here’s what you’ll need:
Material of your choice (I choose Vinyl )
Material for lining
Batting /felt
Zipper
Scissors and matching thread
Start by measuring your gadget and leaving a 1.5″seam allowance all the way around. Next comes the zip.Don’t be intimidated if you’ve never sewn a zipper before . I’ll give you a couple of tips to make this process super easy. First of all choose a nylon zipper since you won’t need to change to a zipper foot to sew it (trust me!) Next choose a much longer zipper than required. You can cut it to size later .Use my tips then follow this tutorial to finish your iPad case (remember to measure and cut according to your gadget’s size) I found the tutorial to be very helpful and easy to understand. Since I used felt for my lining I didn’t feel the need to use batting also, but it’s up to you as the batting gives it extra protection. I added a tassel to the zipper pull with a jump ring. You can even add a charm, it’s up to you.
I love how it turned out and so did my daughter. I made an extra one since I can never make one of anything, and now my daughter expects a choice every time !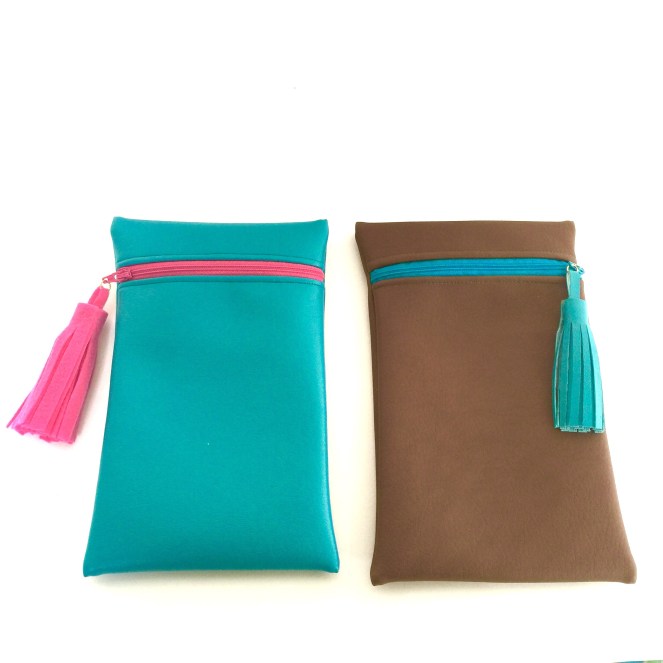

 Check out my other Laptop and Kindle covers on my facebook page !

Got to make this for my daughter who always wants her charger with her iPod wherever she goes.This is just the perfect thing to keep it together.🏆
LikeLiked by 1 person